


My game-changing handlebar setup
(and why it matters)

Before we dive in, a quick note: if you enjoy this post or find it useful, I’d love it if you could take a moment to like, comment, or share. These small actions might not seem like much, but they make a massive difference in helping more people discover my writing (thank you, algorithms!). Your support means so much, and I’m incredibly grateful for every click, share, and kind word. ❤️
“What an odd title for a newsletter” you’re probably thinking. And you’d be absolutely right. It is a little odd, especially if the only thing you’re used to having on your handlebars is…well…your hands.
But, believe it or not, your bike’s handlebars can unlock a whole new world of efficiency when it comes to long-distance cycling. And as we all know, efficiency is king when trying to cover big miles in a not-so-big timeframe.
Why’s that?
Well, this is essentially the part of your bike that you’ll spend the most time looking at and interacting with. Therefore, it’s a great place to attach a bunch of things that are going to help reduce faff (our arch nemesis) and make your life a whoollleee lot easier.
“What on earth are you talking about, Jess?”
Let me explain.
When we embark on an epic two-wheeled adventure we often need to carry out a series of repetitive tasks in order to keep ourselves moving efficiently. Things like navigating the route, staying on top of our fuelling, and remembering to sip from our water bottles.
But what about some of the more challenging, time-intensive tasks? Like finding your nearest supermarket when you’ve run out of food, sourcing and booking a hotel for the night, or calculating whether or not you’re going to make it before check-in closes.
These are all things which can easily take precious time off the bike. But what if they didn’t have to?
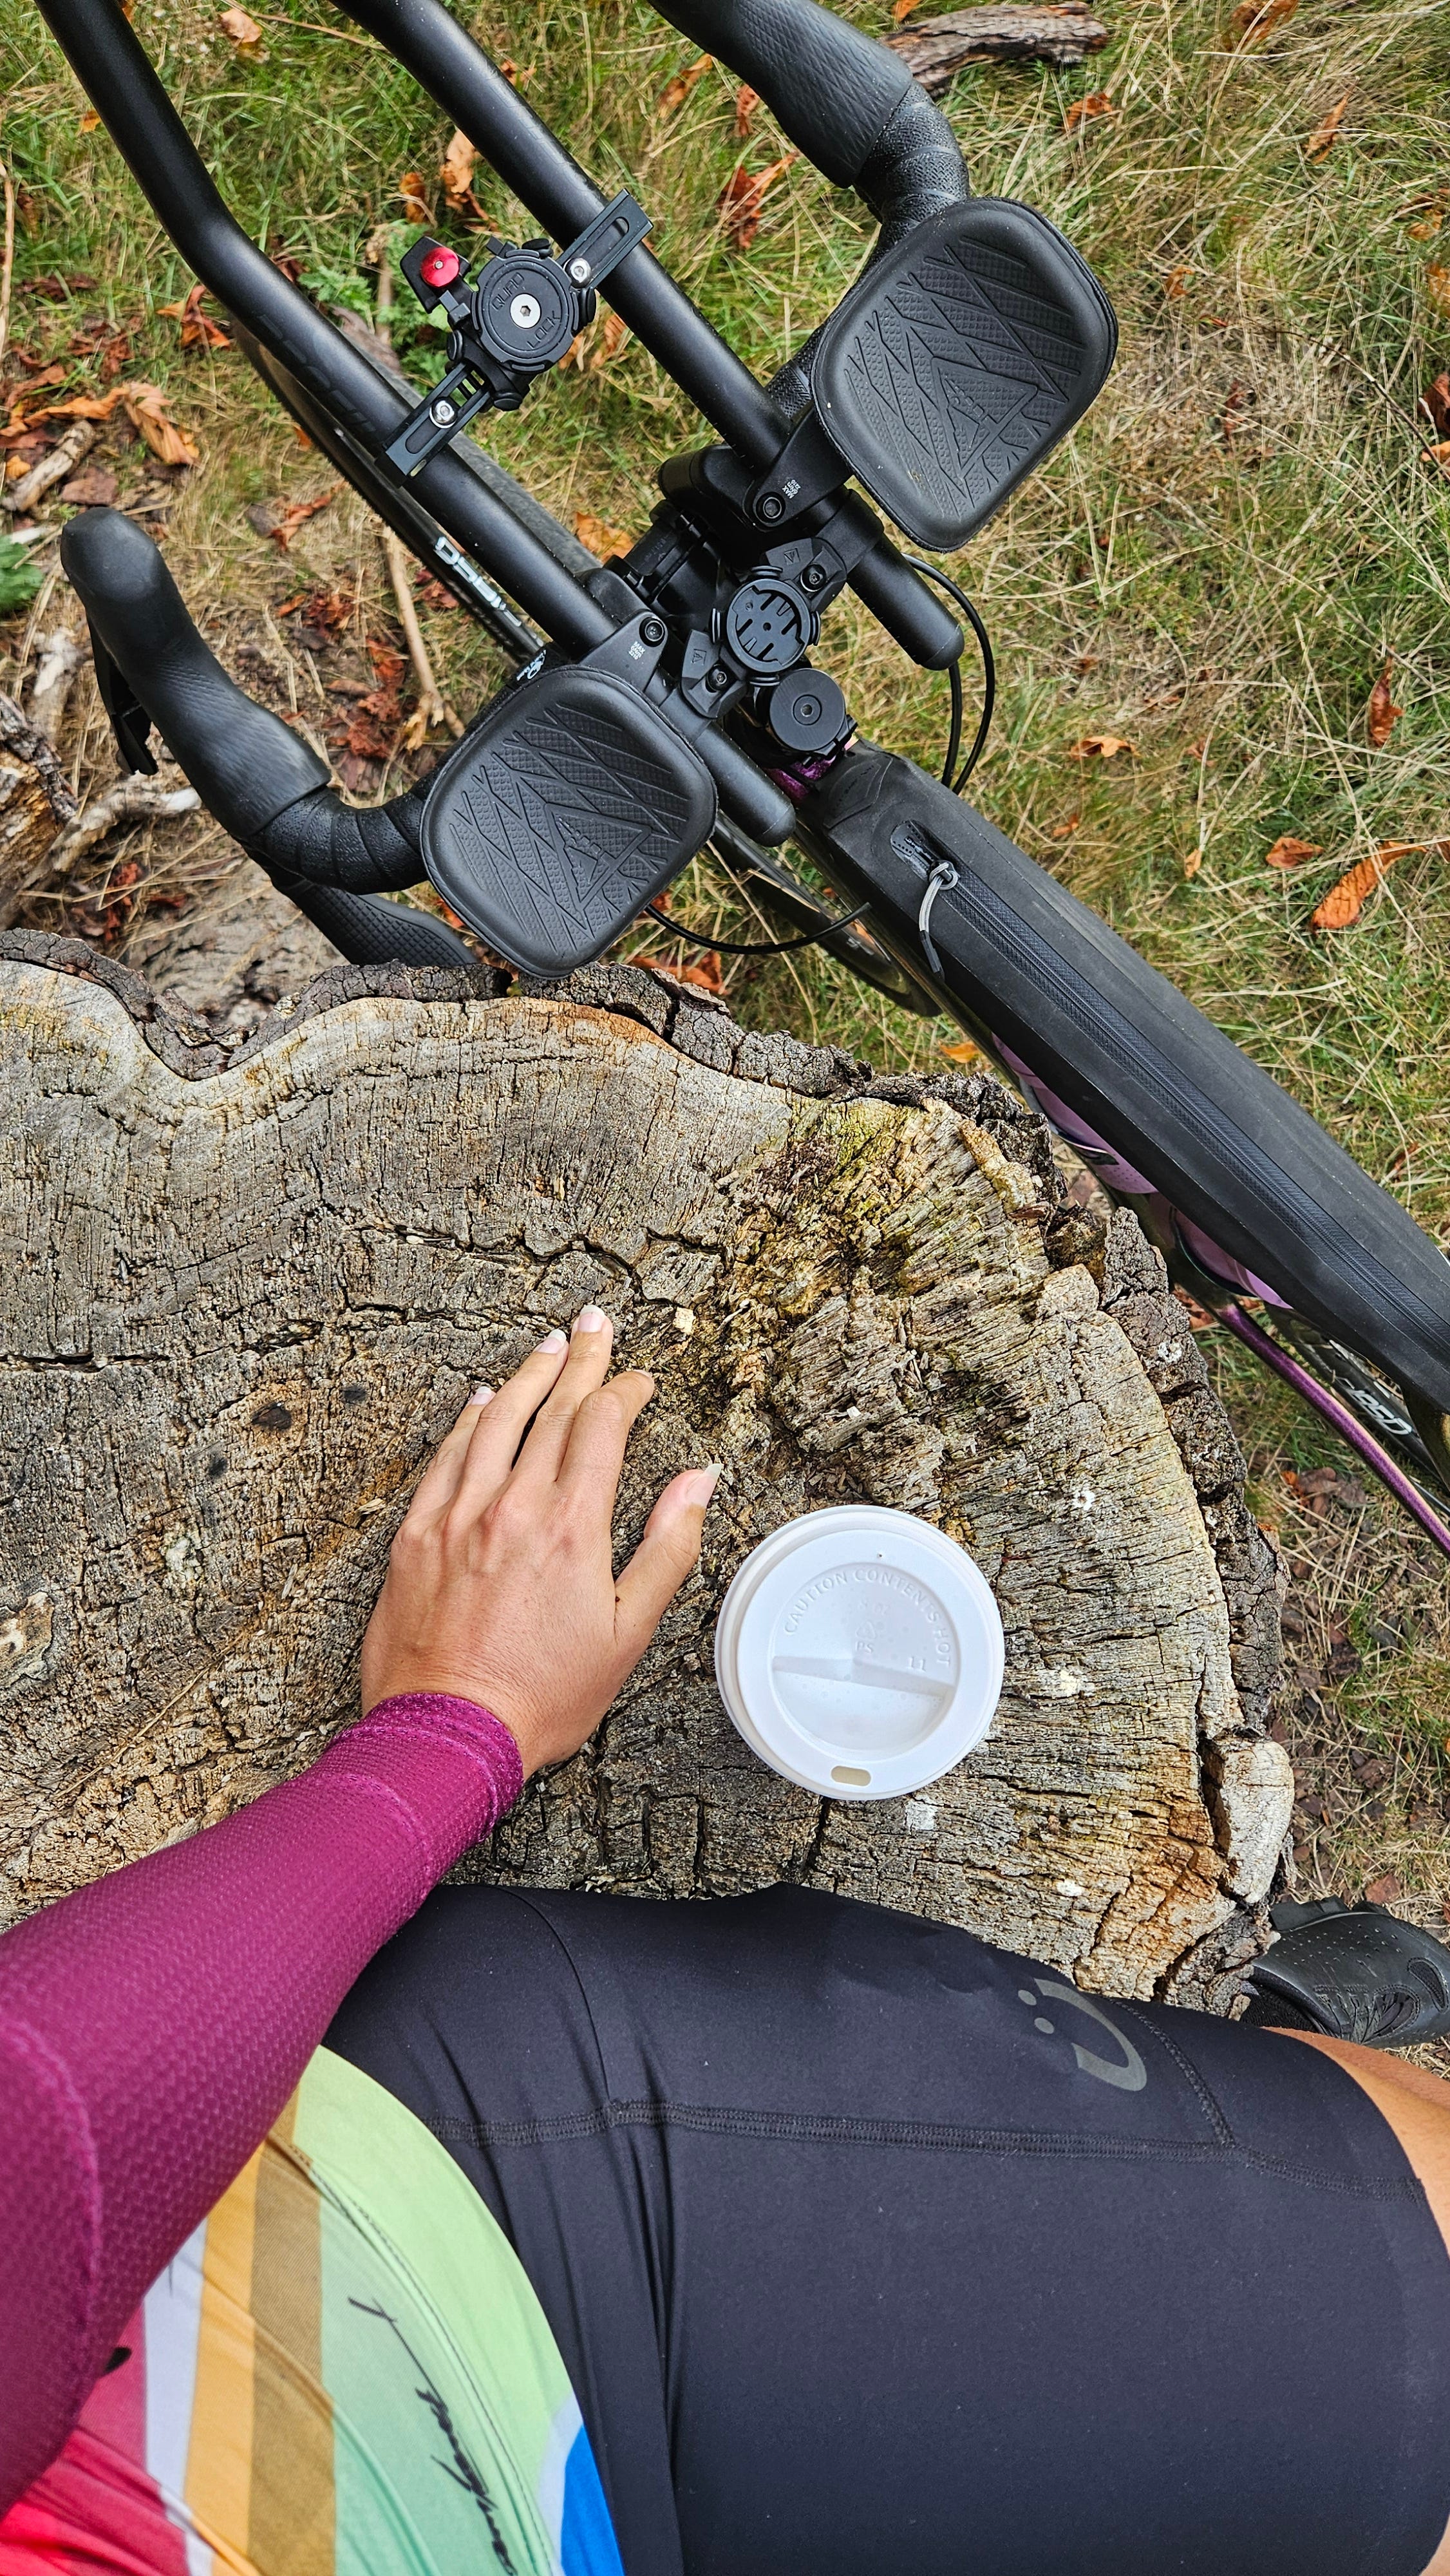
Allow me to introduce…the cockpit ✨

It may not look like much, but ☝️this setup right here☝️ is the result of months of fine-tuning. It carried me 4,000km to the end of the world, and has been my trusted companion on every adventure since.
So, what makes it so special?
Well why don’t you sit back, relax, and let me tell you!
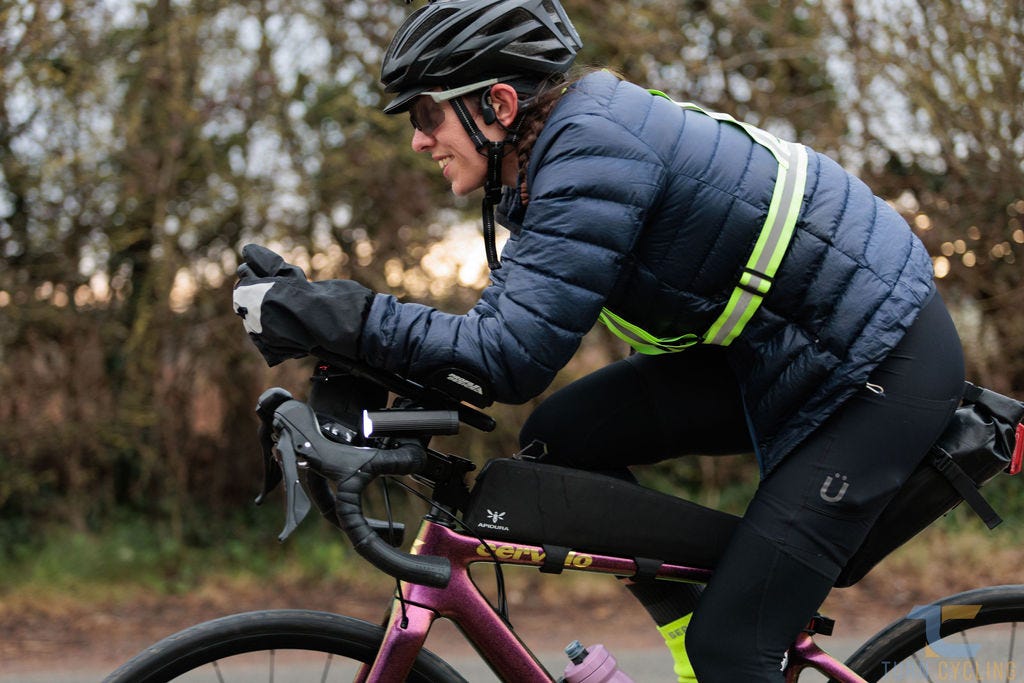
1. Aerobars to keep me comfortable
This is probably a good place to start because it lays the foundation for everything else, as well as providing a tonne of extra mounting space that otherwise wouldn’t exist.
Now, I know that most people are likely familiar with aerobars for the incredible aero-gains they can give you in events like time-trials and triathlons; in short, they help you go faster for the same amount of effort. And whilst that’s all well and good, that’s not the main reason I have them attached to my bike.
In fact, the main reason I use aerobars is actually for comfort. Applying constant pressure to your hands and wrists over long distances can result in numbness and general discomfort, which, needless to say, doesn’t make for a very happy rider. After completing All Points North back in 2023 it took a solid three months for the feeling in my right hand to return to normal, and I vowed right then and there to find a solution before taking on my next epic ride. And find a solution, I did.
Whilst bike fits and positioning definitely go a long way in preventing the problem, take it from me—when you're spending 14+ hours a day in the saddle, you'll be eternally grateful to your past self for giving you the luxury of an alternate hand position.
I spent a hell of a lot of time researching (my favourite thing to do) when mulling over which aerobars to get, and eventually landed on the Profile Design Sonic Ergo. With around 1,200 possible configurations—including adjusting the length and rotation of the bars, tilting the arm rests, and raising the overall height —they are the most adjustable clip-on product in the market. I know, right?!
I also added 50mm risers to achieve a more relaxed (but super comfortable) position on the bike and I’m reluctant to ever ride without them ever again. You heard it here first.
2. A Garmin to keep me on route
Now that we’ve gotten ourselves comfortable and gifted ourselves a little extra speed in the process, let’s move on to navigation.
It may sound obvious, but having a dedicated device whose sole job is to tell you where to go is an absolute godsend. Of course, using your phone is always an option (there’s some great apps for navigation these days!) but in the interest of efficiency and saving that sweet, sweet battery life, there’s nothing quite like a [insert your favourite brand here].
I personally use a Garmin, which has been an incredibly reliable and trustworthy parter over the years, successfully getting me to all sorts of weird and wonderful places without too much drama.
To give you a rough idea: depending on the temperature (the battery depletes faster in the cold) I can usually manage a 250km ride without needing to recharge. But even if it does need a little extra juice in order to get me to my destination, you can still navigate whilst it’s plugged into a powerpack, which has been a lifesaver on multiple occasions.
The other really useful thing about using a dedicated navigation device is that you can customise it to be even more useful. By that I mean you can often tailor which data you want displayed on which screen, which gives you different sets of information depending on your need at the time.
For example, when navigating using the map, I only have my completed distance and 3-second power output displayed on the screen. I use the distance visual in conjunction with any route notes I’ve prepared; understanding when I’m about to reach a checkpoint, a resupply point, or something else I’ve deemed important (like a potential bivy spot I’d scoped earlier). And then I use my power output to gauge whether I’m able to maintain my current pace, or whether I’m working a little too hard and need to dial back.
The swipe of a finger then allows me to cycle through other screens that may serve an important purpose, but don’t necessarily need to be visible all the time. An example of this is my ‘big picture’ screen, which shows things like average speed, normalised power, elapsed time, time to destination, and time of sunset. I use these data points much less frequently, but on bigger, multi-day events they can help me understand how I’m tracking against slightly larger goals.
How do I mount it?
I use the Profile Design Aerobridge mount, and then attach the Garmin itself via a quarter turn mount.
3. A mobile phone to help with side quests
I know, I know, I know, I know. Most of the cyclists you probably see wouldn’t be caught dead having their phone strapped to their handlebars; it’s uncool and it’s definitely not aero.
But there’s a method to my madness.
Having your phone at your fingertips is a fantastic way to do a little bit of multi-tasking whilst on the move. The list of possibilities is endless, but a few of my go-to tasks include:
Finding the nearest supermarket when I need to stock up on food / water (Google Maps)
Checking to see how far away I am from the next town / village (Google Maps)
Browsing (and booking!) accommodation options for the coming night (Booking.com / Hotels.com)
Navigating to my accommodation / other off-route destination without having to mess around with my Garmin (Google Maps)
Checking route notes I’ve prepared that list out distance markers of potential bivvy spots (Notion)
Recording voice-notes so I can document my journey (Voice Recorder)
Quickly changing my Spotify playlist when I’m bored of listening to the same ten songs over and over (Spotify)
And so on and so forth.
It really is a powerhouse of getting shit done, without needing to constantly take your hands off the bars and dig around in your jersey pocket. Instead, it’s right there in front of you (although I don’t recommend using it for catching up on your favourite Netflix series!)
Of course there’s a disclaimer that needs to be stated here. Using your phone whilst cycling takes your attention away from the road, which can lead to disastrous outcomes. Always take the utmost care and ensure you put the safety of yourself and others above any efficiency gains that might come from using your phone whilst on the move.
How do I mount it?
I use this delightful contraption from AliExpress to attach to my aerobars, and then use the Quadlock Stem Mount to secure my phone (p.s. you’ll also need a Quadlock phone case)
4. A top tube bag for charging on-the-go
I write extensively about bags you can attach to your bike here, but the bag we’re particularly interested in for this purpose is the one that straps to your top tube.
Why?
Because not only is it super easy to access, it’s also close enough to your handlebars that you can treat it as an on-the-go charging station. How cool is that!
In the front part of my top tube bag I carry a fast-charge power pack and a variety of charging cables that can all stretch to reach the devices in question. This means I can charge my phone, my Garmin, and even my headphones (whilst still wearing them!) without having to stop riding my bike. The dream!
I personally use Apidura’s Racing Long Tube Pack because it—somehow—manages to fit a whopping 2L of space into a very trim package. It’s also super durable and 100% waterproof, which feels pretty important when you’re storing a battery pack under its canvas(!)
And there you have it — a little tour of my cockpit setup and why I think it’s the bee’s knees. Hopefully you’ve picked up a tip or two to try out on your own bike, or at the very least sparked some fresh ideas to chew on during your next ride.
I’d L-O-V-E to see your own game-changing handlebar setups — what problems they solve, how they evolved over time, and the clever hacks you swear by.
Drop a comment below or slide into my DMs. Who knows, maybe I’ll gather them all up and feature a few in an upcoming newsletter so we can all geek out together over cockpit configurations. 🤓
Until then, keep pedalling and stay curious ✨

If you’ve enjoyed my writing so far and think others might quite like it too, it would mean the world to me if you could spread the word 💜
Great read Jess! Recently been thinking about aero bars on my Mason for LEL later this year, got the redshift kitchen sink bars with their add on top and drop grips which is really comfy
Hi Jess. Some great tips there on setting up your bike cockpit. Looking at the pics, is that an exposure light mount underneath your quadlock mount? If so, was that easy to fit and what exposure light has got your preference?