


How I plan epic cycling adventures
And the tools I swear by

I often find myself wanting to write about things, but quickly shooting myself down because “everybody knows that, Jess, it’s not rocket science”.
Whether it’s recommendations for bike bags, how I fixed my saddle-sore problem, or camping kit that I love, I always treat myself to a little dance-around-the-houses before finally deciding that yes, this will (probably) be interesting to some people, and yes, it does deserve a space in my little corner of the internet.
So today I’m back again with yet another topic that I almost convinced myself I’m not qualified to write about: how I plan adventures on the bike! 🚴♀️✨
I’m going to skip all the regular pre-amble where I cast my mind back to “where it all started” and “how far I’ve come” (there’s been enough of that recently—just check out my latest Instagram post) and just dive right in.
Because that’s exactly what my first tip is going to be to you, dear reader…
1. Dive right in
Yes, whilst planning an epic two-wheeled adventure does require a lot of careful thought and attention-to-detail, the time for that comes much later. One of the easiest ways to make sure your dreamy trip never actually happens is to spend too much time thinking about it. Thinking is a great way to conjure a never-ending list of questions that you spend far too long trying to answer.
Instead of burying yourself alive with questions, I recommend diving in head first. Get inspired by other people’s cycling adventures, make a shortlist of where you might like to go, and then start figuring out if it’s even possible.
Can you cycle straight from your front door or do you need to travel to the start? If so, what are the different transport options available? How long will it take? Can you take your bike? Fully assembled, or do you have to dismantle it? If you have to dismantle it, what are you going to put it in? And then how will you rebuild it once you get there?
Now you’ve started looking into the nitty-gritty, ask yourself whether it’s actually feasible. Financially, but also in terms of the extra time you might need to take off work to account for travel. And if you’re planning on doing an A to B route, make sure you’re clear on how you might want to get home again afterwards.
Top tip: I love this site; it was an absolute saving grace when trying to figure out how on earth I was going to get back to London after cycling all the way to Nordkapp in Northern Norway. Plug in your two destinations and it will show you all the different combinations of transport you can use to travel between them, including overall time and expected cost. Magic! 🪄
These are all important details that should come at the start of your adventure planning; they’ll help you quickly realise what’s a goer and what’s a non-starter. Once you’ve landed on something that feels achievable, it’s time to move to the next step.
2. Let others do the hard work for you
The internet is alive with routes! So many routes! Routes of all shapes and sizes! So use them. No one’s handing out brownie points for starting from scratch. More often, it just leads to yet more overwhelm, and that dream trip ends up shelved before it even begins. Instead, let someone else do most of the hard work for you; there’s sites literally dedicated to this stuff!
A few great places to start:
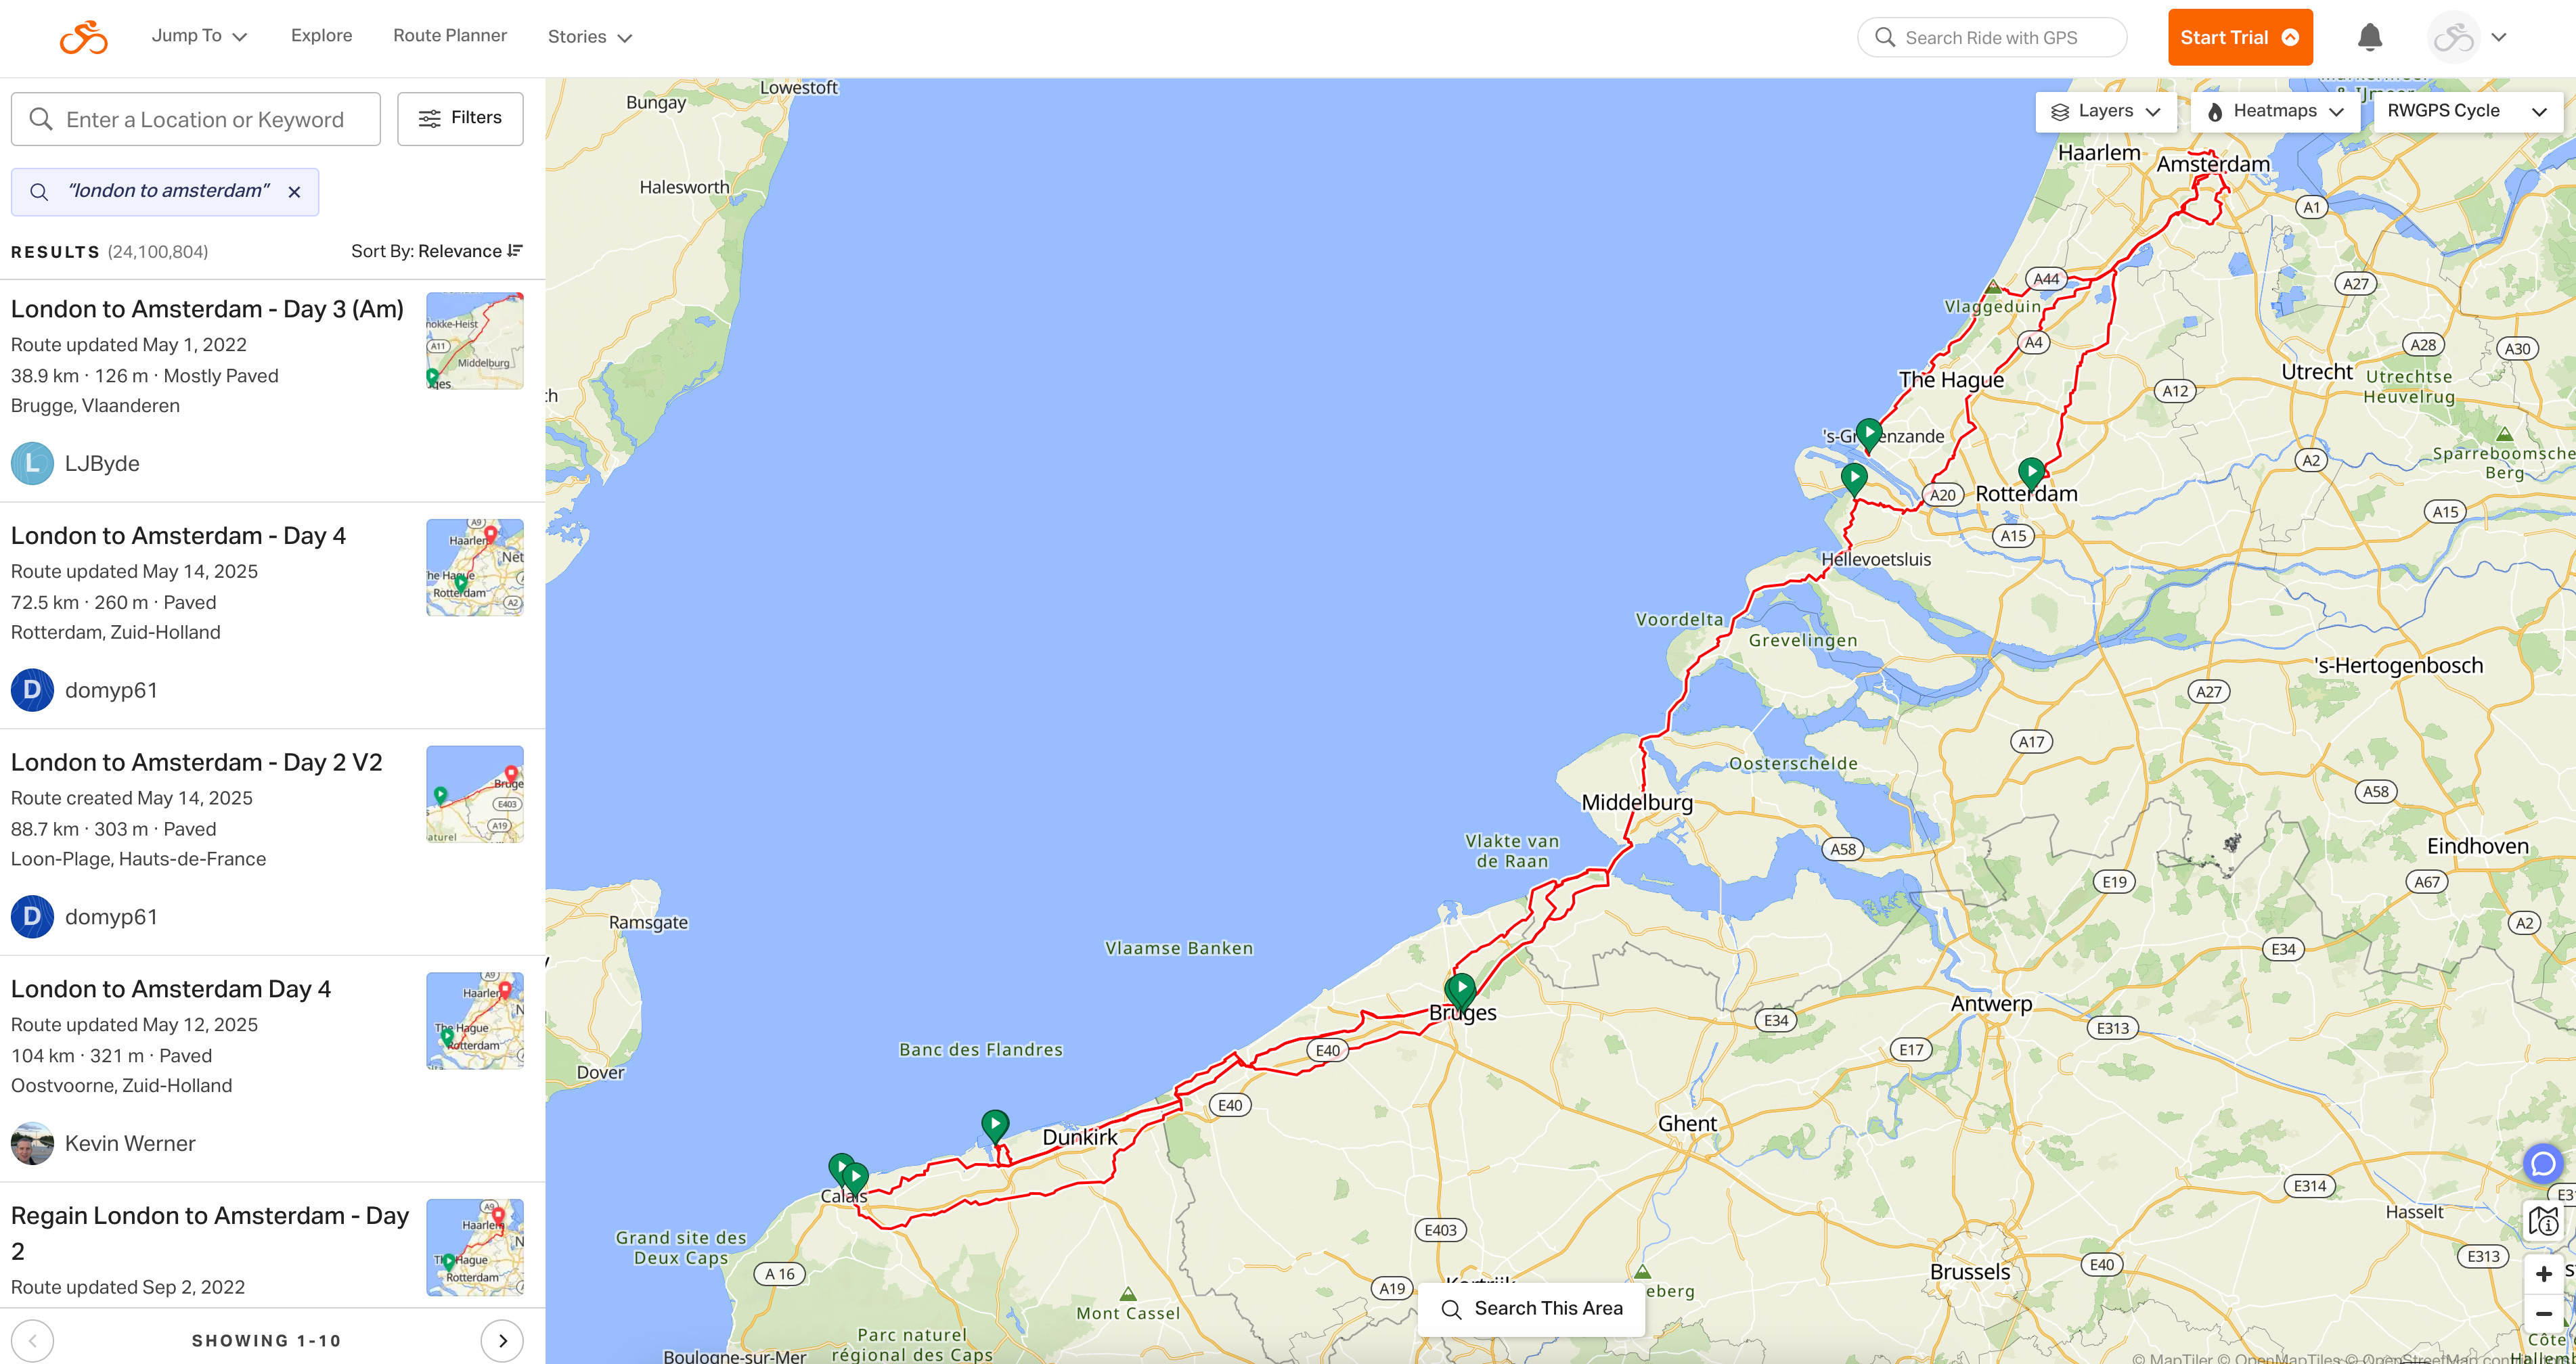
Ride With GPS allows you to ‘explore’ routes that other people have plotted and marked as public. You can search via location or keyword, and then click into each route for a closer look. In this example I simply searched ‘London to Amsterdam’ and thought “hey presto, there’s my trip!”
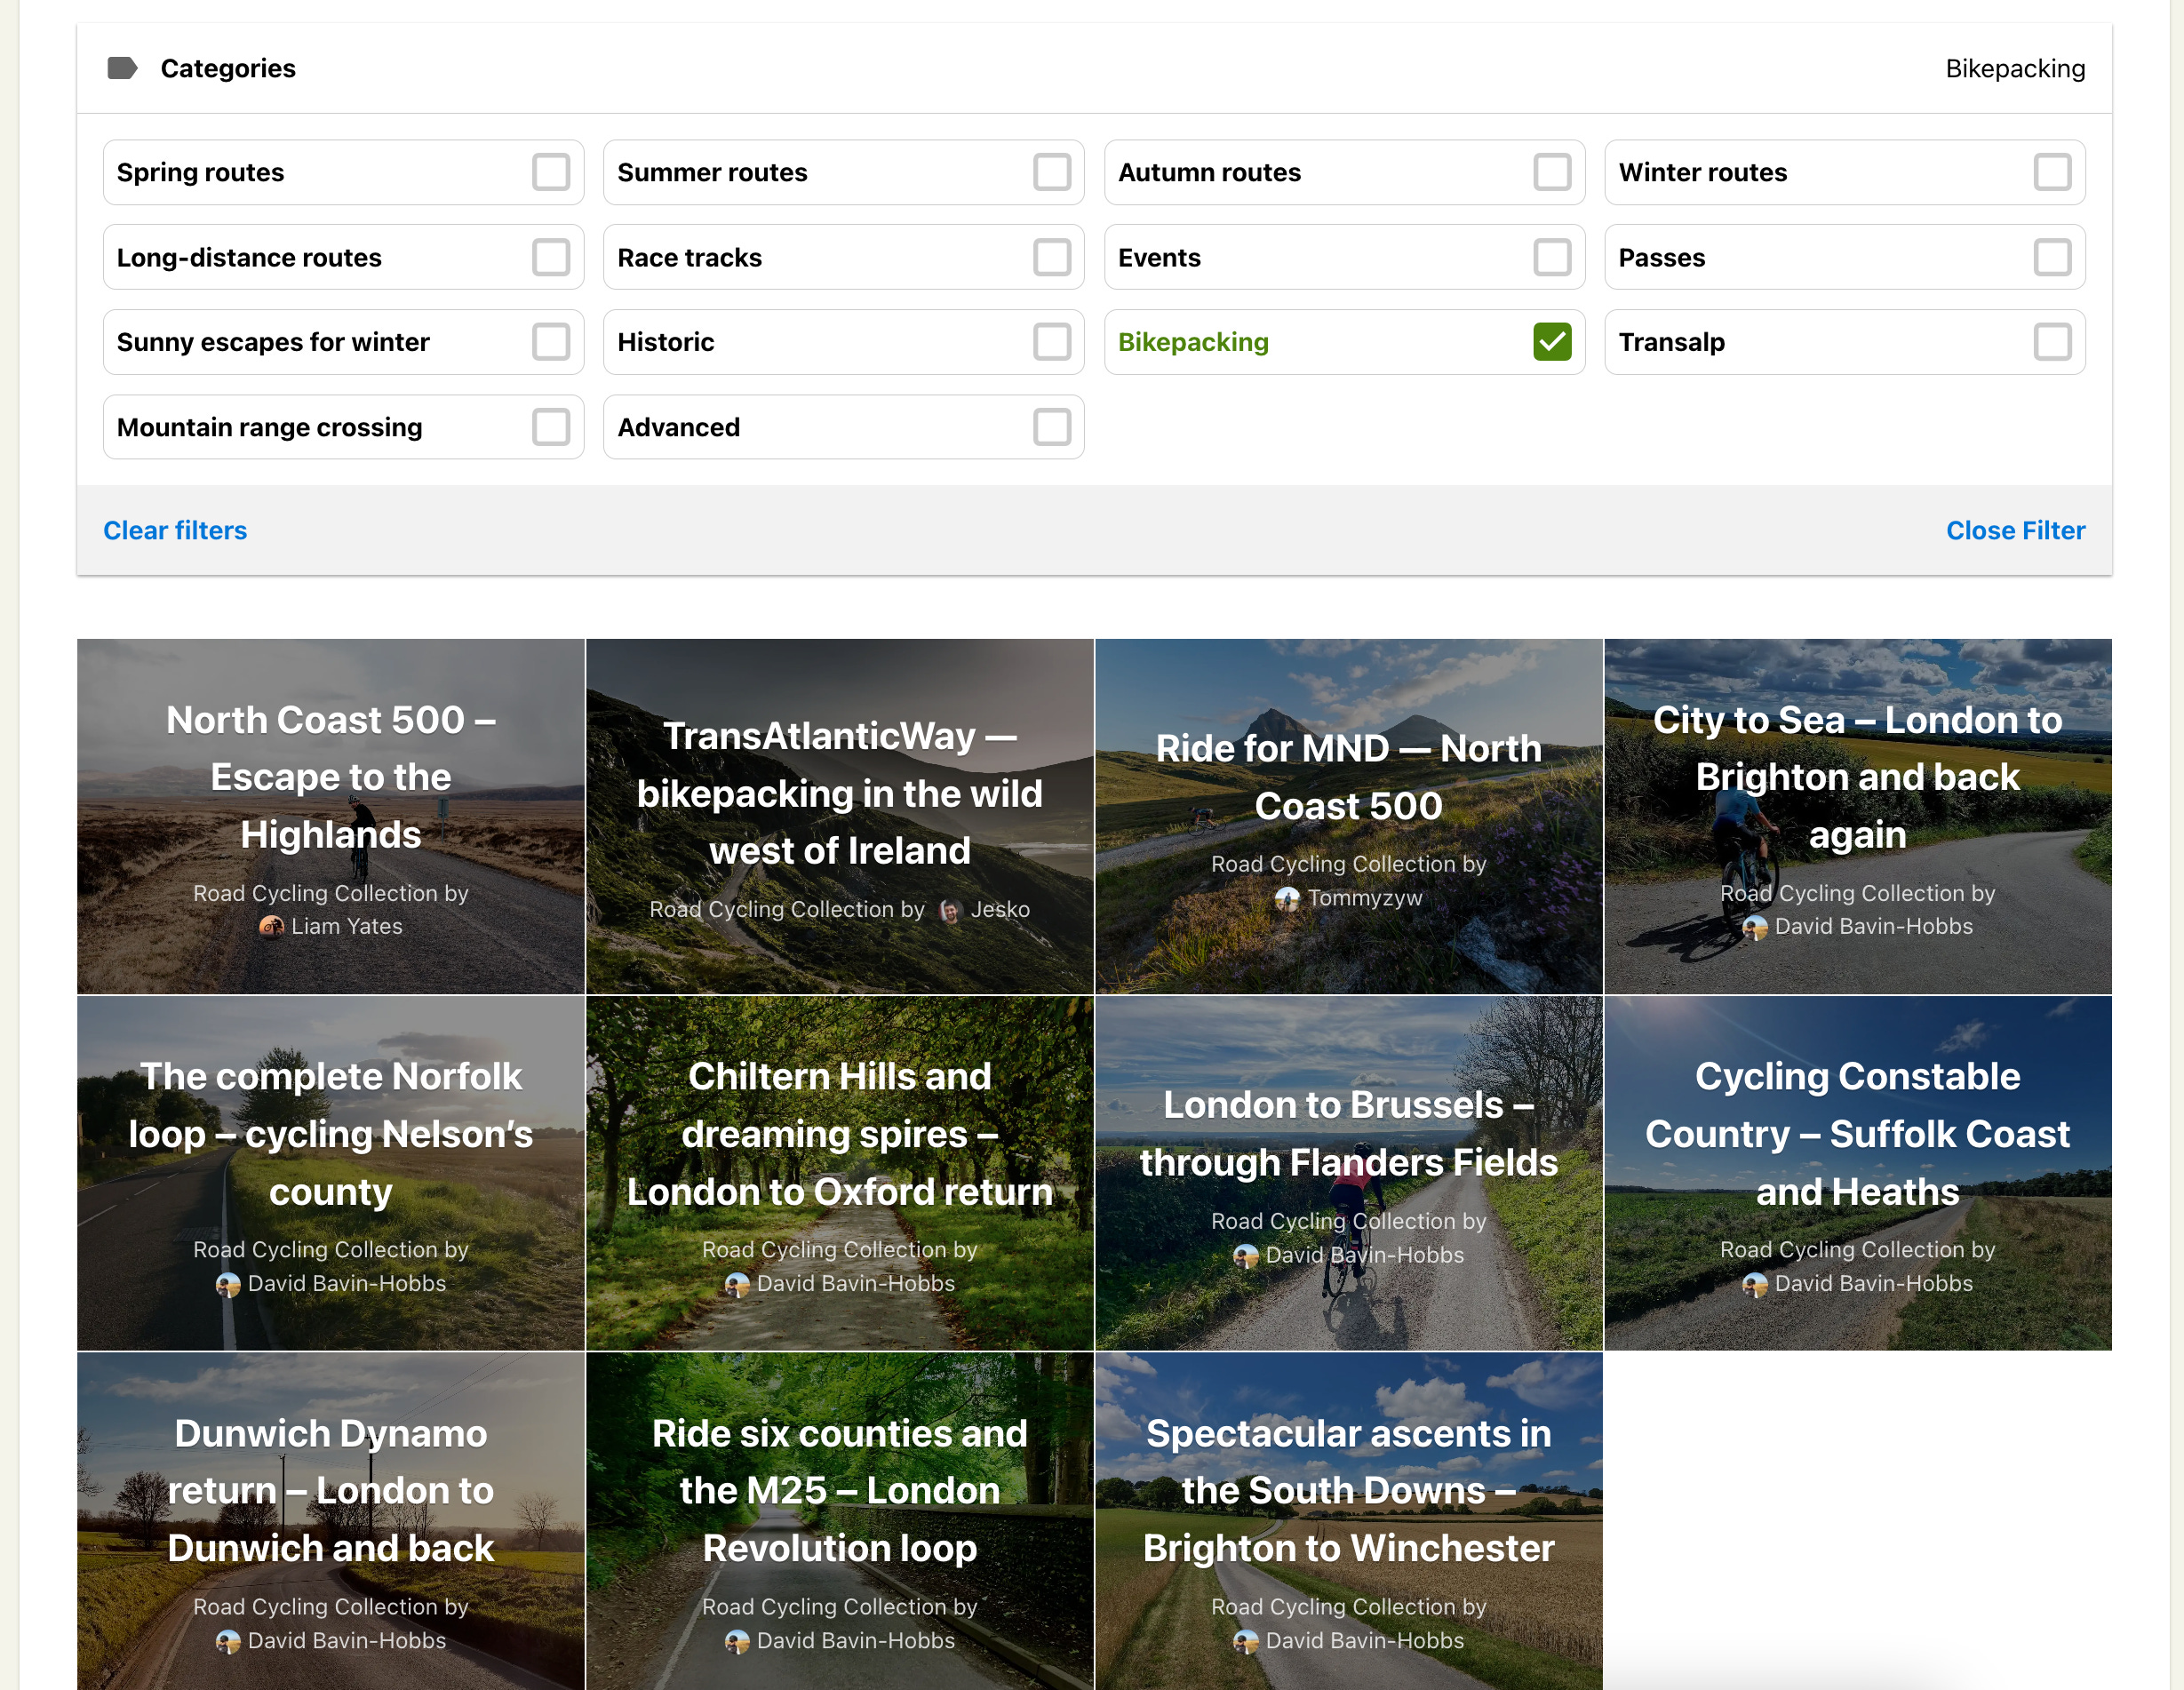
Komoot allows you to explore ‘collections’ of routes based on region or category (and yes, there is a bikepacking category!). These collections are usually carefully curated and contain templates that you can customise to suit your particular trip: updating daily distances, start/finish points etc. It’s also a great way to find inspiration if you’re struggling to ‘dive right in’!
BIKEPACKING.COM is another brilliant source of route inspiration, especially if you’re looking for off-road adventures. Better yet, it lays them all out nicely on a big world map so you can just close your eyes and click! Et Voilà!

3. Preview the route to check it’s going to give maximum aesthetic vibes
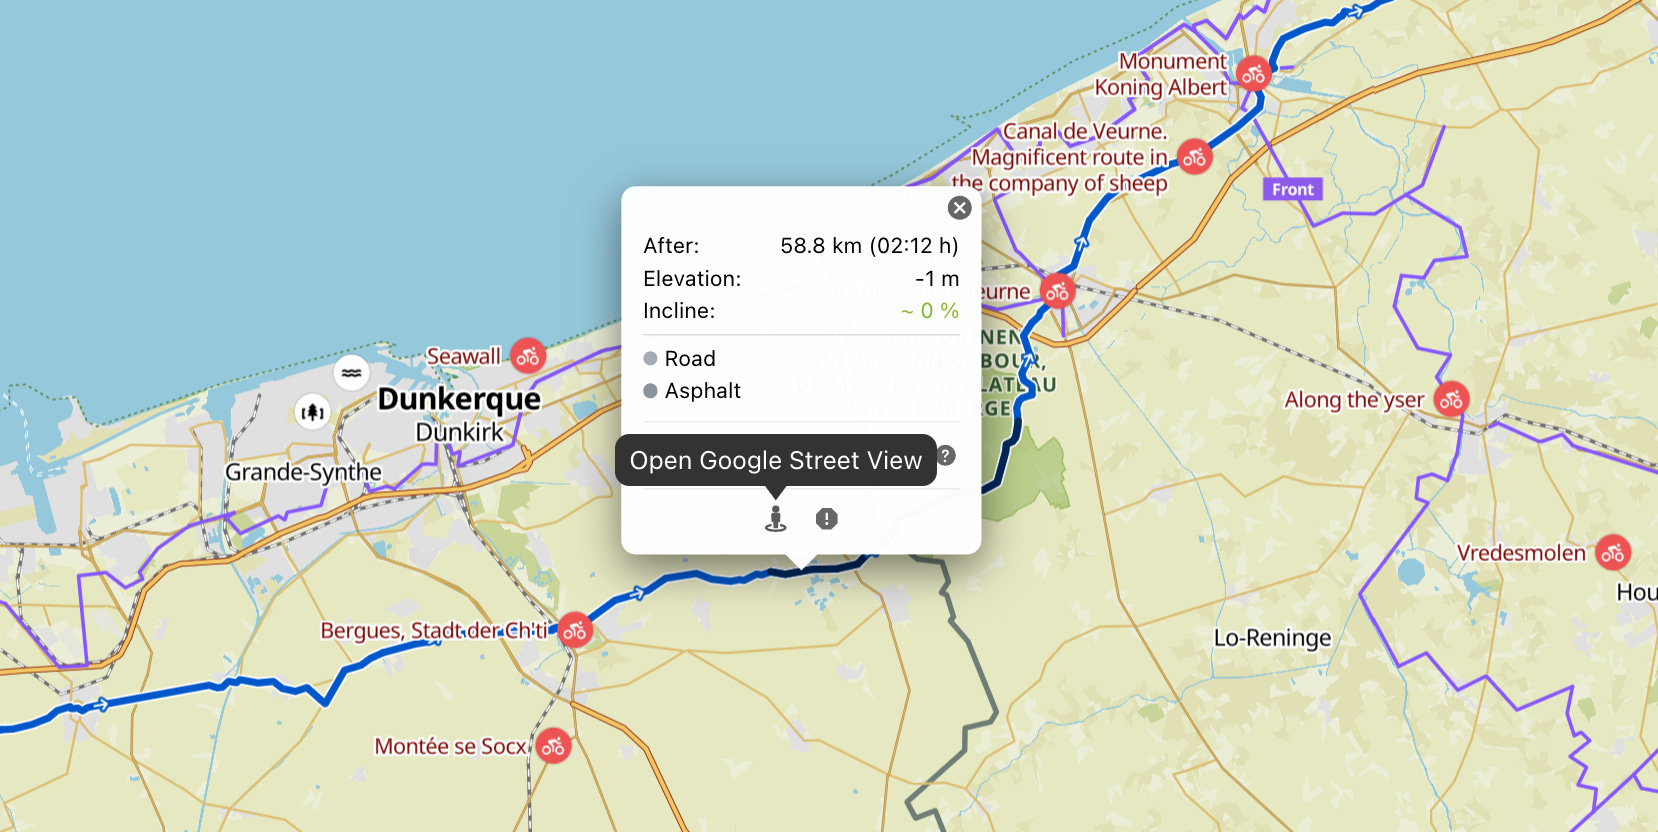
My route planner of choice is Komoot. Aside from being super user-friendly and making it easy to switch up routes on the go via the the app, one of my all-time favourite features is the integrated Google Street View.
THIS IS GOLD when trying to assess whether the route is going to score highly on the ‘natural beauty’ scale, or whether you’re going to be spending three days riding through industrial estates.
Once I’ve successfully been inspired, sanity checked the logistics, and found a couple of route options I like the look of, I’ll download the GPX and upload to Koomoot for some personal tweaks. This always, always, always involves dropping myself at various points on the map to asses the general scenery and whether or not I want to take a different path.
Top tip: click anywhere on the map to open Google Street View and you’ll be able to navigate forwards and backwards along the route as though you were actually there!

4. Upload the final GPX to Google Maps to add points of interest
Probably one of the best things I learned last year (shout out to Werdah!) was that you can upload GPX files to Google Maps. What?! Who knew! I’m pretty sure I skipped around in a little circle after confirming it was true because I CANNOT TELL YOU how much time I have wasted during trips flicking back and forth between my Komoot route and Google Maps trying to figure out what’s around (aka the essentials of what can I eat and where can I sleep).
The instructions are a little complicated but bear with me, they’re worth it:
Open Google Maps on desktop (it won’t work on mobile)
Click ‘Saved’
Click ‘Maps’
Click ‘Open My Maps’
Click ‘Create A New Map’
Click ‘Import’
Select the GPX file from your computer
JOB DONE! 🎉

The possibilities are endless! If you’re a bit of a planner-freak like me, then you might want to go through the route and star / favourite places that might be of interest both on and off the route: things like hotels, campsites, 24 hour petrol stations, bike shops, McDonalds, whatever you fancy!
This then means that when you’re on the road you can simply flick open the map on your mobile, see exactly where you are, and exactly what’s coming up. The above example is from Northcape 4000, where I was covering hundreds of kilometres a day and had no idea where I was likely going to stop each night. This approach meant that I could quickly search for accommodation and resupply points in towns and villages I was routed through, without having to constantly refer back to Komoot.
Honestly. Game-changing.
5. Keep everything in one place
Here it is. The last one. My big secret.
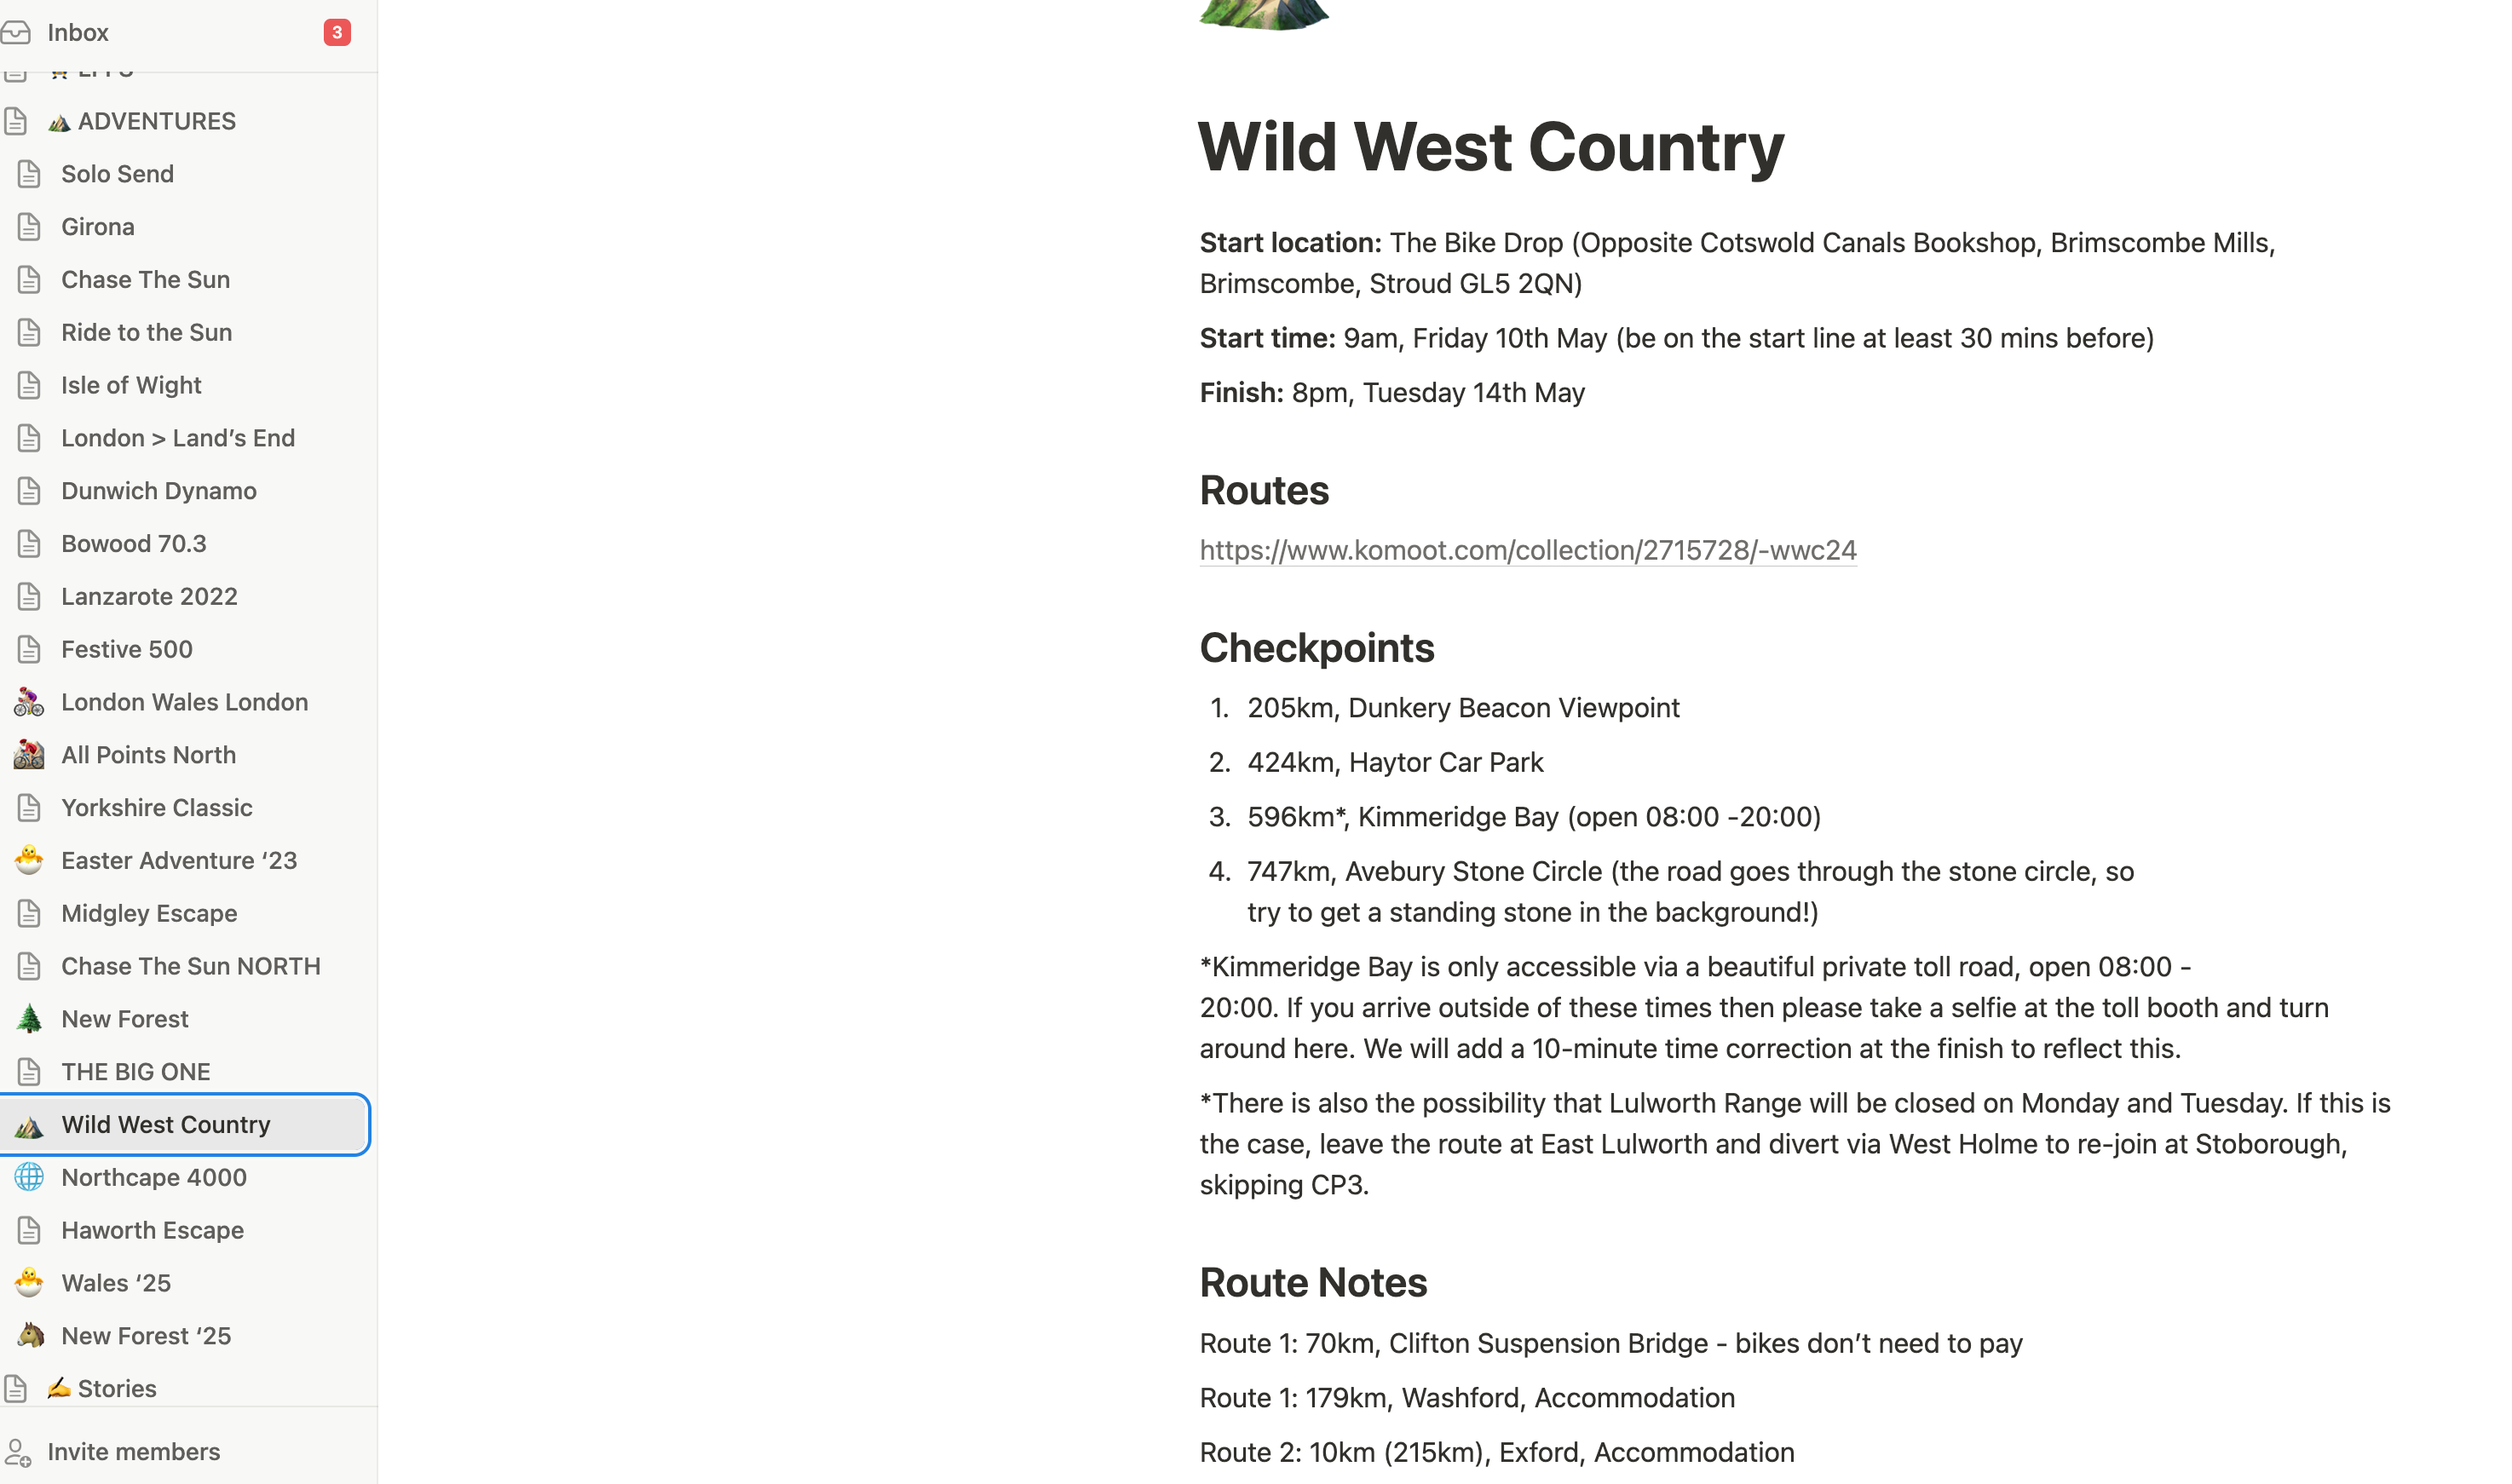
Anyone who knows me knows how much I love a good Notion doc. Hell, I’m pretty sure there’s a page for every single bike adventure I’ve ever been on (and that’s really saying something!)
The reason I love Notion (but it could be any online space that lets you think, write, and draw) for planning adventures is that it helps me keep everything in one place. Logistics, routes, estimated daily mileage, names of hotels I might want to stop at, packing lists, flight details, ferry timetables, exchange rates—you name it, I’ve probably written it down.
You see, when you get into the weeds of adventure planning you start to realise how much information you need to remember, and trust me when I say that can get overwhelming preeeettttty quickly. It also makes the entire experience overly stressful, having to flit between emails and websites and old post-it notes to piece together where you’re supposed to be and when.
A much more efficient way of doing this is making sure you document as you go. In one, single place. This not only helps you feel on top of all your shit (technical term) but will be a HUGE time-saver when you’re on the road and you need to ‘quickly check’ a super important life-or-death detail, such as what time the local Greggs opens in the morning.
So, here’s your big takeaway: don’t waste time obsessing over the perfect plan for a trip that might not even be possible. If you're serious about going on an adventure, the smartest first move is to test whether it actually has legs. Start with logistics: figure out if it’s feasible, both practically and financially. Then lean on what’s already out there: use pre-made routes, tweak them, and make them your own. Preview the scenery, upload your GPX to Google Maps, and get clear on food, sleep, and exit strategies. The sooner you can turn a vague idea into something grounded, the sooner it becomes real. Don’t wait for permission or perfection, just start.
That’s how all the best trips begin 🚀

And as always, if you’ve enjoyed my writing and think others might quite like it too, it would mean the world to me if you could spread the word 💜
I use My Maps to plot out points of interest/places to stay but didn’t know it is possible to upload a route. I also didn’t know about the Street View tip for Komoot. Always something new to learn :) I haven’t used Notion, Trello is my go-to for keeping links, lists and info in one place.
I learnt the fun way, in that I got the Eurostar to Brussels and made it to as I went along. Was sat in an Airbnb the night before and had no idea where I was heading the next day, just that I need to be back for the train in 2 weeks.
I used to pick a spot on a paper map and then 'town hop' my way there. I'd just pick loads of small villages along the way and write them down on my stem and follow road signs through back country lanes.
Now I've done a fair few trips my planning is much closer to yours. I've normally got a full Komoot file saved and an itinerary on Google maps with all the shops and toilets! Especially helpful if your going somewhere remote!